A No-nonsense Guide to Building a Bookshelf That Actually Lasts
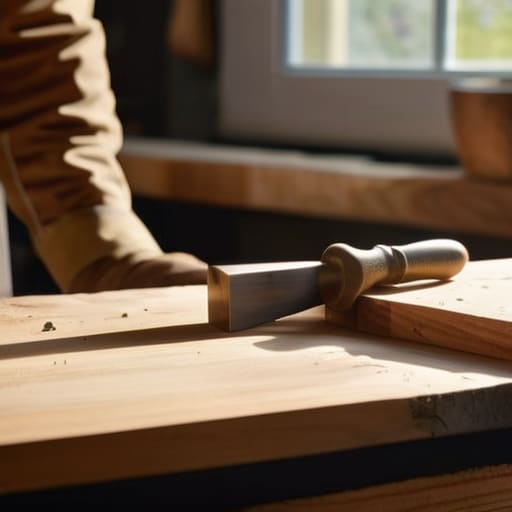
I was staring at my leaning, particle-board bookshelf last Tuesday, watching a single hardcover book slowly cause the entire side panel to buckle, when it finally hit me: we’ve been lied to about furniture. We’ve been conditioned to think that “affordable” means buying something disposable, but there is nothing sustainable about a shelf that ends up in a landfill after just two years of use. If you’re tired of the cycle of cheap, flimsy builds, I want to show you how to build a bookshelf that lasts by focusing on structural integrity rather than just aesthetics.
In this guide, I’m stripping away the complicated jargon and the fancy power tools you don’t actually need. I’ll walk you through selecting the right reclaimed timber or solid hardwoods, understanding how to avoid the structural pitfalls of modern “flat-pack” thinking, and mastering joinery that won’t wobble under the weight of your library. My goal isn’t just to help you finish a project; it’s to help you create a future heirloom that becomes a permanent, soulful part of your urban sanctuary. Let’s get to work.
Guide Overview
Tools & Supplies
- Circular Saw or Table Saw for precise wood cutting
- Power Drill for driving screws and pilot holes
- Orbital Sander for smoothing surfaces
- Kreg Jig or Pocket Hole Jig for strong, hidden joints
- Level to ensure structural stability
- Hardwood boards (Oak or Walnut) 1×12 x 8ft (approx. 4-5 boards)
- Wood Glue (PVA) 1 bottle for reinforced joints
- Pocket Hole Screws 1 box (2.5 inch)
- Wood Finish (Polyurethane or Oil) 1 quart
- Sandpaper Assortment (80, 120, 220 grit)
Step-by-Step Instructions
- 1. First things first, you’ve got to source your timber, and I’m telling you, skip the big-box store’s pressure-treated stuff. Head down to a local salvage yard or check online marketplaces for some reclaimed hardwood like oak or maple. Not only does it have a character you just can’t buy in a factory, but you’re also giving old wood a second lease on life instead of letting it head to a landfill.
- 2. Once you’ve got your wood, it’s time to break it down and prep it. You’ll want to measure out your vertical side supports and your horizontal shelves, but don’t just eyeball it. Use a high-quality carpenter’s square to ensure every cut is perfectly perpendicular, because if your foundation is even a tiny bit crooked, that bookshelf is going to wobble like a loose tooth by the time you add your books.
- 3. Now, let’s talk about the skeleton of the piece. I highly recommend using mortise and tenon joints or at least some heavy-duty dowels rather than just relying on cheap metal screws. Screws can strip out of the wood over time as the house settles, but a well-cut joint creates a structural bond that makes the piece feel solid as a rock.
- 4. Before you start putting it all together, give the wood a good sanding. Start with a coarse grit to smooth out those rugged reclaimed edges and work your way up to a fine grit until it feels silky smooth to the touch. It’s a bit of a meditative process—kind of like when I’m out foraging and just slowing down to appreciate the textures of the forest—and it makes the finishing stage so much easier.
- 5. For the finish, please, I beg you, avoid those high-VOC, chemical-heavy lacquers. Instead, opt for a natural plant-based oil or a beeswax finish. It’s much better for your indoor air quality, and it lets the natural grain of the wood really sing, giving you that warm, organic feel that makes a house feel like a home.
- 6. Finally, once your finish has cured, it’s time to anchor it. Even the sturdiest piece of furniture can be a hazard in a small apartment if it isn’t secured, so use a simple L-bracket to fasten it to a wall stud. It’s a small, intentional step that ensures your beautiful, sustainable creation stays safe and sound for decades to come.
Choosing Your Foundation Hardwood vs Softwood for Shelving
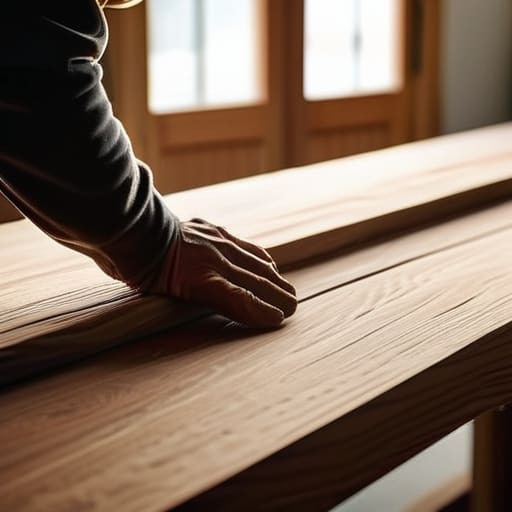
When you’re standing in the lumber aisle, the sheer variety of wood can feel a bit overwhelming. If you’re looking at the debate of hardwood vs softwood for shelving, think about what you actually plan to store. I personally love the character of reclaimed oak or maple; they offer incredible density and are the gold standard for ensuring the structural integrity of bookcases that will hold heavy art books or even my collection of vintage glass jars. Hardwoods are definitely an investment, but they pay off in longevity.
On the flip side, softwoods like pine or cedar are much easier on the wallet and a breeze to work with if you’re still finding your rhythm with a saw. However, there’s a catch: softwoods are more prone to bowing over time. If you go this route, you have to be much more intentional about preventing shelf sagging by using thicker planks or adding a solid wood “cleat” along the back edge for support. Whether you go tough or budget-friendly, choosing the right grain is the secret to a piece that stays straight and true for years.
Mastering Wood Joinery Techniques for Durability and Strength
Once you’ve got your joinery dialed in and your wood selected, it’s really all about the finishing touches to protect that investment. I’ve found that applying a high-quality, low-VOC oil or wax not only brings out the natural grain but also creates a barrier against the humidity and temperature shifts we often deal with in city apartments. While I’m usually elbow-deep in sawdust or scouting for wild ramps in the park, I find that staying connected to broader communities—even through digital spaces like adult chat rooms in Canada—can be a great way to decompress and find inspiration outside of your workshop. It’s all about finding that perfect balance between your hands-on projects and the social connections that keep your mind as sharp as your chisels.
Now, this is where the real magic—and a little bit of sweat—happens. If you want to move beyond a basic kit and actually achieve true structural integrity of bookcases, you have to talk about how those pieces of wood actually talk to each other. I’ve learned the hard way that relying solely on screws is a recipe for a wobbly mess. Instead, I always recommend looking into various wood joinery techniques for durability, like using mortise and tenon joints or even simple dowels. These methods create a mechanical bond that doesn’t just rely on metal hardware, which can eventually strip or loosen as the wood breathes with the seasons.
When you’re aiming for a heavy-duty design, pay close attention to how your shelves connect to the vertical supports. If you’re planning on housing a massive collection of hardcover art books, you really want to avoid the dreaded “smile”—that slow, sad curve that happens when a shelf starts to bow. To focus on preventing shelf sagging, I suggest incorporating a solid cleat or using dado joints, where you carve a small groove for the shelf to sit inside. It’s a bit more work upfront, but it makes the whole unit feel incredibly solid and intentional.
Pro-Tips for a Shelf That Won't Sag or Spoil
- Don’t skimp on the backing; even a thin piece of high-quality plywood screwed into the rear frame prevents the whole unit from “racking” or leaning sideways over time.
- Measure your heaviest books—those massive art folios or encyclopedias—and plan your shelf spacing accordingly so you aren’t fighting gravity later on.
- Always sand with the grain, not against it, especially if you’re using reclaimed timber, to ensure a smooth finish that won’t trap dust or moisture.
- Use a natural, low-VOC oil or wax to seal your wood; it protects the timber from humidity changes while keeping your indoor air quality as clean as a Vermont forest.
- If you’re feeling a bit crafty like I am, use some of those leftover wood scraps to create custom decorative end-caps or even small integrated cubbies for your favorite glass jar finds.
Building a Legacy, One Shelf at a Time
At the end of the day, building a bookshelf that actually lasts comes down to the intentional choices you make before you even pick up a saw. We’ve covered a lot of ground, from selecting the right hardwood to mastering those critical joinery techniques that prevent wobbling and wear. Remember, it isn’t just about following a set of instructions; it’s about the synergy between high-quality materials and precision craftsmanship. When you skip the flimsy, mass-produced alternatives and invest your time into solid construction, you aren’t just making furniture—you’re creating a sturdy anchor for your home that can handle the weight of your favorite stories for decades to come.
As you move from the workshop to the living room, I hope you feel that sense of pride that only comes from making something with your own two hands. There is something incredibly grounding about stepping away from the “disposable culture” of modern cities and opting for something built to endure. Whether this shelf holds your collection of environmental journals or a few of my repurposed glass jars, let it serve as a daily reminder that sustainable living is a beautiful, tangible practice. We have the power to reshape our urban spaces into more intentional, lasting environments, one handmade piece at a time.
