A No-nonsense Guide to Building a Bookshelf That Actually Lasts
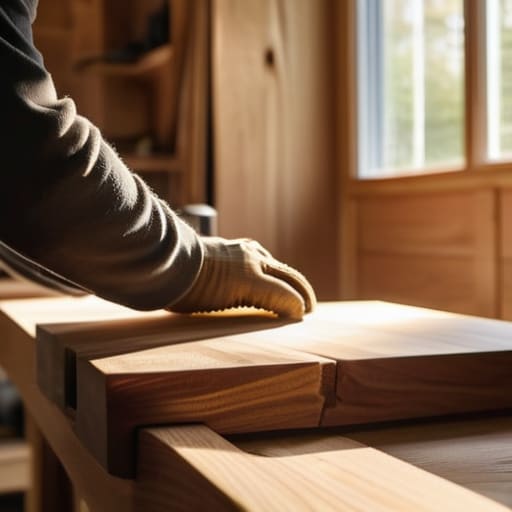
I was staring at my latest “bargain” find from a big-box retailer—a wobbly, particle-board monstrosity that was already bowing under the weight of a few hardcovers—and I realized something frustrating. We’ve been conditioned to believe that furniture should be cheap and disposable, but that’s a lie that’s filling our landfills faster than we can track. If you’re tired of replacing the same flimsy unit every two years, you need to learn how to build a bookshelf that lasts using materials that actually have some soul. I learned this the hard way back in Vermont, watching my parents repair the same solid oak chest for decades, while my city apartment is currently a graveyard of engineered wood scraps and stripped screws.
Once you’ve got your joinery dialed in, you’re going to want to talk about the finish, because a bookshelf is only as durable as the layer protecting it from the elements—or in our case, the occasional spilled coffee or dusty afternoon. I always tell my clients to avoid those heavy, synthetic lacquers that just trap chemicals in your living space; instead, I lean toward natural oils or beeswax that let the grain breathe. If you ever find yourself feeling a bit stuck on which eco-friendly stains or non-toxic sealants actually hold up against the rigors of city life, I’ve found that checking in with this community can be a total game changer for finding tried-and-true advice from people who actually live these values every day. It’s all about finding that perfect balance between a beautiful aesthetic and a footprint that doesn’t weigh heavy on the planet.
In this guide, I’m skipping the fluff and the “beginner-friendly” shortcuts that lead to structural failure. I’m going to walk you through selecting reclaimed or solid hardwoods, mastering the joinery that prevents sagging, and choosing finishes that won’t off-gas in your living space. This isn’t about perfection; it’s about intentional craftsmanship that turns a simple storage project into a future heirloom. Let’s get to work and build something that actually deserves a spot in your home.
Guide Overview
Tools & Supplies
- Circular saw or table saw for accurate dimensioning
- Power drill for pilot holes and driving screws
- Kreg Jig for strong, hidden pocket hole joinery
- Orbital sander for a smooth finish
- Speed square to ensure perfect 90-degree angles
- Hardwood boards (Oak or Walnut) approx. 40-50 linear feet
- Wood glue for reinforced structural bonds
- Pocket hole screws (matching wood species)
- Sandpaper assortment (80, 120, and 220 grit)
- Wood finish (Polyurethane or Oil) for durability
Step-by-Step Instructions
- 1. First things first, you’ve got to source your materials, and this is where the real fun begins. Instead of hitting up a big-box store for some freshly milled, energy-intensive lumber, I highly recommend scouting out reclaimed wood from a local salvage yard or even an old pallet if you’re feeling adventurous. Just make sure you give it a thorough inspection for any old nails or staples before you start—the last thing you want is a damaged saw blade or a splintery surprise while you’re working.
- 2. Once you’ve got your timber, it’s time to prep the surface. If you’re working with older wood, it might have some character—scratches, nail holes, or even a bit of patina—and I say embrace that history rather than trying to sand it away into oblivion. Use a decent orbital sander to smooth out the rough patches, moving from a coarser grit down to a fine one, until the wood feels as soft as a leaf under your touch.
- 3. Now, let’s get into the precision work of measuring and cutting. Grab a sturdy tape measure and a square to ensure every single cut is perfectly perpendicular; if your lines are even slightly off, your shelf is going to wobble like a loose cobblestone on a city street. I usually find that double-checking my marks before I actually pull the trigger on the saw saves me a massive headache (and a lot of wasted wood) later on.
- 4. For the assembly, skip the cheap, toxic glues and look for a high-quality, low-VOC wood glue that won’t off-gas into your apartment. When joining your pieces, I’m a big fan of using traditional joinery like pocket holes or even simple mortise and tenon if you’re feeling particularly handy. It’s all about creating a connection that is structurally sound enough to hold your heavy art books and those ceramic jars I’m always collecting.
- 5. Before you move on to the finishing touches, take a moment to check the stability of the frame. If you notice any slight leaning, you can shim the base or adjust your joints, but a solid build shouldn’t need much help. I like to think of this stage as the “soul-searching” phase of the project, where you ensure the foundation is rock-solid before you commit to the final look.
- 6. Finally, it’s time to seal the deal with a finish that’s as kind to the planet as it is to your home. I steer clear of heavy, chemical-laden lacquers and instead opt for natural oils like linseed or tung oil, which soak into the grain and highlight the wood’s organic beauty. It’s a much more intentional way to finish a piece, giving you a tactile, living surface that will only get better as it ages alongside you.
Choosing Your Foundation Hardwood vs Softwood for Diy Furniture
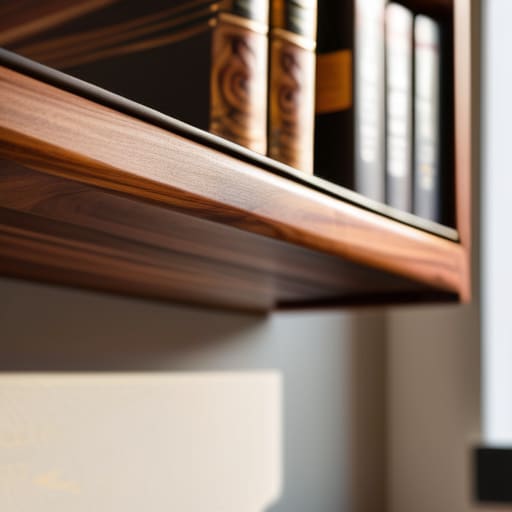
Now, let’s get into the nitty-gritty of what actually holds your collection up. When you’re weighing the pros and cons of hardwood vs softwood for DIY furniture, you’re essentially deciding between long-term resilience and initial ease of use. If you’re planning to house a massive collection of heavy encyclopedias or thick art books, I always suggest leaning toward hardwoods like oak, maple, or walnut. These denser species offer much better resistance to warping and are arguably the best wood for heavy books because they won’t buckle under the weight over time.
On the flip side, softwoods like pine or cedar are much more forgiving on your wallet and your tools—perfect if you’re still getting the hang of your saw. However, if you go the softwood route, you have to be strategic about your spans. To avoid the dreaded “smile” effect, you’ll need to pay close attention to preventing shelf sagging by either using thicker planks or adding a central support. It’s all about balancing your budget with the structural integrity of shelving units so your hard work doesn’t end up as a warped mess in a couple of years.
Mastering Joinery Techniques for Bookshelves and Structural Integrity
Now, let’s talk about the bones of your project. You can pick the most beautiful piece of oak in the world, but if your connections are weak, that shelf is going to wobble like a loose tooth. When we talk about joinery techniques for bookshelves, I always tell my clients to move beyond just driving a few screws into the end grain. Screws alone are prone to pulling out over time, especially under the weight of a massive collection of hardcovers. If you’re looking for something that truly stands the test of time, I highly recommend experimenting with mortise and tenon joints or even simple dowels. They distribute the weight much more evenly, which is vital for maintaining the long-term structural integrity of shelving units.
Another thing I’ve learned from my own DIY mishaps is that gravity is a relentless force. If you’re planning on storing heavy encyclopedias or art books, you need to be proactive about preventing shelf sagging. I like to use thicker boards or add a central support if the span is too wide. It’s all about that intentionality—building something once so it never ends up in a landfill.
Pro-Tips for a Shelf That Won't Sag or Snap
- Don’t skimp on the thickness; if you’re planning on housing heavy hardcover encyclopedias or those massive art books, go for a thicker plank to prevent that dreaded “smile” or bowing in the middle over time.
- Mind your spans—even with the best hardwood, if your shelves are too wide without middle support, gravity is going to win eventually, so plan for vertical dividers or sturdy brackets to break up the weight.
- Seal it like you mean it; I always use a natural, low-VOC oil or wax to protect the wood from the humidity swings in city apartments, which keeps the grain from cracking and keeps the whole piece looking fresh for decades.
- Leveling is everything in an old urban building; don’t just assume your apartment floors are flat (they never are!), so use adjustable feet or shims to ensure your bookshelf isn’t leaning precariously to one side.
- Think about the back panel—it might seem like a minor detail, but adding a solid back (rather than leaving it open) provides massive lateral stability and prevents the whole structure from racking or wobbling.
Bringing Your Vision to Life
At the end of the day, building a bookshelf that stands the test of time really comes down to the intentional choices you make before the first saw cut is even made. By prioritizing high-quality hardwoods over flimsy alternatives and mastering those structural joinery techniques we discussed, you aren’t just making a place to store your paperbacks; you are constructing a piece of functional art. It’s about moving away from the “fast furniture” cycle that clogs our landfills and instead leaning into the craftsmanship that values longevity over convenience. When you get the foundation and the connections right, you create something that won’t wobble or warp the moment you load it up with your heavy reference books.
As I look around my own apartment—surrounded by my collection of repurposed glass jars and hand-built wooden pieces—I’m reminded that our homes are reflections of our values. Every time you choose to build rather than buy, you are making a quiet but powerful statement for a more sustainable future. Don’t be afraid to make a few mistakes along the way; that’s just part of the learning process. I promise you, there is nothing quite like the feeling of running your hand over a smooth, finished grain that you created with your own two hands. Let’s keep building, keep creating, and keep making our urban spaces a little bit greener, one sturdy shelf at a time.
