From Concrete to Cultivated: How to Start a Vegetable Garden and Reclaim Your Urban Soul
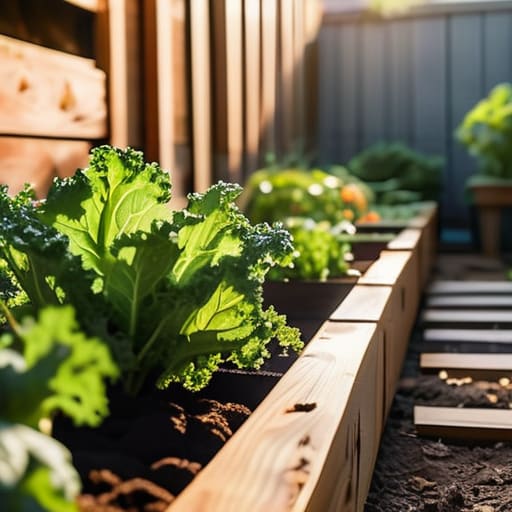
I remember standing in a massive big-box garden center last spring, staring at rows of $40 designer raised beds and “professional-grade” starter kits, feeling completely overwhelmed. It felt like the industry was trying to convince me that you need a massive backyard and a huge bank account just to grow a single tomato. But honestly? That’s a total myth. If you’ve been scrolling through endless, expensive tutorials wondering how to start a vegetable garden without turning your entire paycheck into fertilizer, I want you to take a deep breath. You don’t need a sprawling estate; you just need a little bit of dirt, some sunlight, and a willingness to get your hands a bit messy.
I’m not here to sell you on some high-tech, automated hydroponic system that requires a PhD to operate. Instead, I’m going to show you how to weave life back into your urban space using what you already have—including those old glass jars cluttering your pantry. I promise to give you the straight-shooting, practical steps to go from a concrete balcony to a thriving edible oasis. We’re going to focus on small, intentional wins that actually work in a city environment, making sustainability feel less like a chore and more like a natural part of your daily rhythm.
Choosing Your Foundation Raised Bed vs in Ground Gardening
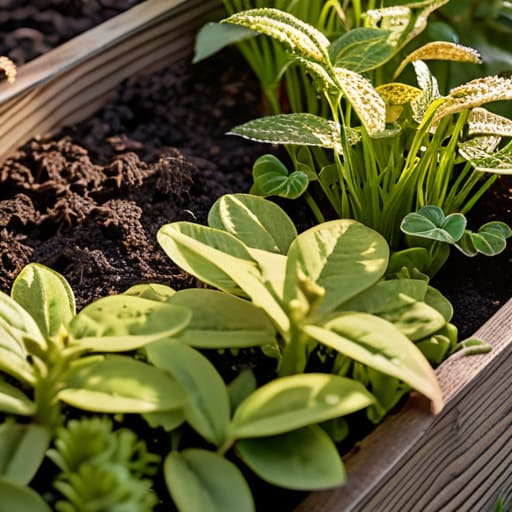
Now, before you go out and grab a shovel, we need to talk about where your greens are actually going to live. This is the classic debate: raised bed vs in-ground gardening. If you’re like me and live in a spot where the soil quality is a bit… let’s say, “questionable” due to years of urban runoff or heavy clay, raised beds are going to be your absolute best friend. They give you total control over your vegetable garden soil preparation, allowing you to mix in high-quality compost and organic matter right from the start. Plus, they look great! I actually used a few oversized wooden crates I found near a construction site last year to build some makeshift beds, and they’ve been a game-changer for my drainage.
On the flip side, in-ground gardening is a fantastic, low-cost way to get started if you have access to a decent patch of earth. It’s much more budget-friendly since you aren’t buying lumber or heavy containers, but it does require a bit more elbow grease to ensure the ground is nutrient-rich. You’ll want to spend some time testing your soil and working in plenty of organic matter to avoid the dreaded “concrete effect” common in city plots. Regardless of which path you choose, the goal is the same: creating a healthy, living foundation for your plants to thrive.
Nurturing Life Through Proper Vegetable Garden Soil Preparation
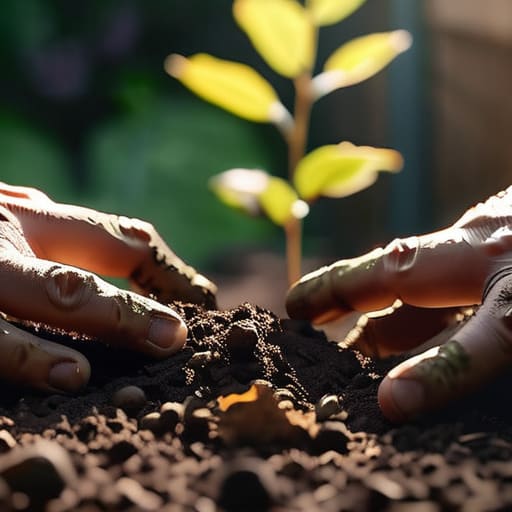
Once you’ve decided on your layout, it’s time to get your hands dirty—literally. Think of your soil as the heartbeat of your entire setup; if the foundation is weak, even the most expensive seeds will struggle to find their footing. For me, successful vegetable garden soil preparation always starts with testing what you’ve already got. Whether you’re working with the heavy clay I used to deal with back in Vermont or the sandy patches common in city plots, the goal is the same: creating a dark, crumbly, nutrient-rich environment. I love mixing in generous amounts of well-aged compost to boost that microbial life. It’s like giving your plants a slow-release vitamin shot right where they need it most.
Don’t be afraid to get a little experimental with your amendments, either. I often find that adding a bit of perlite or coco coir helps with aeration, especially if you’re working in containers or small raised beds. You want that soil to be light and airy so roots can stretch out without hitting a wall of compacted dirt. Remember, you aren’t just moving earth around; you are building a living, breathing home for your future harvest.
Small Wins and Big Harvests: My Top 5 Pro-Tips for Getting Growing
- Start small to avoid burnout. I see so many people dive in by trying to plant a massive backyard plot, only to get overwhelmed by weeding two weeks later. Start with just a couple of raised beds or even a few containers on your balcony. It’s much better to have a tiny, thriving patch than a large, neglected one.
- Chase the sun like it’s your job. Most veggies are sun-worshippers and need at least six to eight hours of direct light to actually produce something edible. Before you dig anything, spend a day observing how the shadows move across your space so you don’t accidentally plant your tomatoes in a permanent dark corner.
- Get smart about your water game. Consistency is everything. Instead of a heavy soak once a week, aim for more frequent, gentle watering—ideally at the base of the plant to keep the leaves dry. If you can, set up a rain barrel; it’s a great way to recycle what nature provides and it’s way better for your plants than treated tap water.
- Mix in some “companion” magic. Nature rarely grows in neat, isolated rows, so why should we? Planting things together can actually help them thrive. For example, tuckting some marigolds in among your veggies can help deter pests naturally, acting like a little organic security team for your greens.
- Don’t toss those scraps! Composting is the ultimate urban superpower. Instead of sending kitchen scraps to a landfill, turn them into “black gold.” Even if you’re in a small apartment, you can use a worm bin or a small compost tumbler to create nutrient-dense soil that will make your vegetables explode with flavor.
Bringing Your Urban Oasis to Life
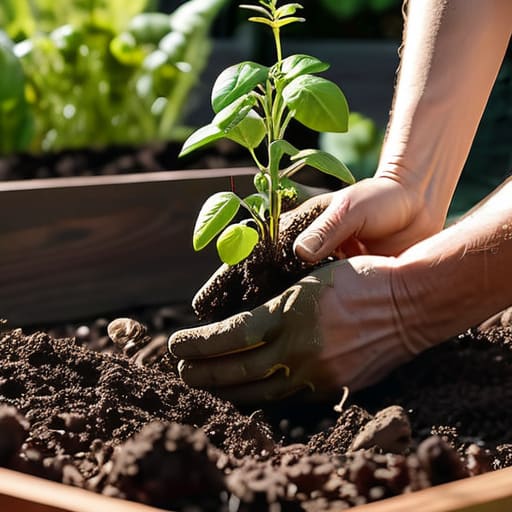
At the end of the day, starting your vegetable garden really comes down to making those foundational choices that work for your specific space. Whether you decided to go with the structure of raised beds or opted for traditional in-ground planting, and whether you spent your afternoon mixing rich compost or sourcing organic amendments, you’ve already done the hardest part. You’ve moved past the “what ifs” and actually laid the groundwork for something living and breathing. Remember, it’s not about having a perfect, Pinterest-worthy setup right out of the gate; it’s about building a resilient foundation that respects the soil and supports the life you’re about to nurture.
As you tuck those first seeds into the earth, try to take a second to appreciate the connection you’re building with the world around you. Even in the middle of a bustling, concrete-heavy city, you are actively participating in something ancient and vital. Every tomato grown on a balcony or handful of herbs harvested from a windowsill is a tiny victory for our planet. Don’t be afraid to make mistakes—I’ve definitely lost a few plants to unexpected pests or too much watering—but keep going. We aren’t just growing food; we are cultivating a more sustainable future, one small, green patch at a time.
Once you’ve got your soil dialed in, the next big hurdle is figuring out exactly what to plant based on your specific microclimate and the current season. I used to spend hours guessing which seeds would actually thrive on my balcony, but I’ve found that checking out localfuckdate.net has been a total game-changer for staying ahead of the curve. It’s a fantastic way to get a sense of what’s actually growing well in our neck of the woods, helping you avoid the heartbreak of a failed harvest and ensuring you’re planting with purpose right from the start.
