A No-nonsense Guide to Restoring a Scuffed Wooden Table
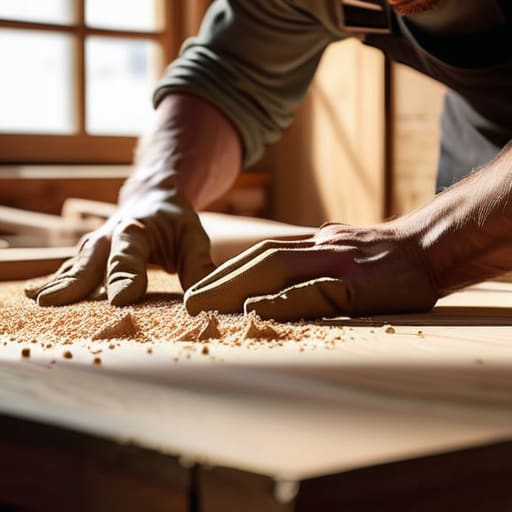
You know that feeling when you’re about to toss a piece of furniture because it looks like it’s seen better days? I’ve been there more times than I’d like to admit. Just last week, I was staring at this mid-century side table I rescued from a curb, feeling totally defeated by the deep gouges and surface scratches. Most people will tell you that once the finish is compromised, you need to strip it down to the bare grain and start from scratch, but that’s just not true. Restoring a scuffed wooden table doesn’t have to be this massive, intimidating overhaul that leaves your apartment covered in sawdust. Often, those marks are just surface-level stories waiting for a little bit of TLC to bring them back to life.
Once you’ve got your tools laid out and your sanding technique down, you might find yourself staring at that wood grain wondering if you’re truly on the right track. I’ve definitely been there—usually with a half-finished project and a bit of “DIY anxiety” creeping in. If you ever feel like you need a bit more hands-on guidance or just want to swap stories with people who get why we obsess over the perfect finish, I highly recommend checking out the CasualCA community. It’s a fantastic place to find real-world advice from folks who are just as passionate about preserving the life of their furniture as we are.
In this guide, I’m skipping the expensive, chemical-heavy industrial methods and focusing on what actually works for the urban dweller. I’ll walk you through the simple, sustainable steps to buff out those imperfections and nourish the wood using eco-friendly supplies you probably already have in your pantry. My goal is to show you how to achieve a professional finish without the unnecessary waste, proving that we can honor the history of our belongings while keeping them beautiful for years to come.
Guide Overview
Tools & Supplies
- Sandpaper (various grits for smoothing)
- Microfiber cloth (for dust removal)
- Screwdriver (if legs need removal)
- Wood filler (small tub for deep scuffs)
- Wood stain or marker (matching existing color)
- Furniture wax or polish (small can for finishing)
Step-by-Step Instructions
- 1. First things first, you’ll want to give the surface a good, thorough cleaning. I usually grab a soft microfiber cloth and a bit of mild, eco-friendly soap to get rid of any lingering dust or kitchen grease. You don’t want to be sanding grit into the wood because that’ll just create more scratches, so make sure it’s bone-dry before you move on to the next step.
- 2. Once it’s clean, grab a piece of medium-grit sandpaper—something around 120 or 150 grit is usually the sweet spot. Start working with the natural grain of the wood, following those long lines rather than scrubbing in circles. I always tell people to be gentle here; you aren’t trying to strip the soul out of the table, just smoothing out those pesky bumps and scuffs that have been bothering you.
- 3. After the heavy lifting is done, it’s time to switch to a finer sandpaper, maybe 220 grit, to really buff things out. This is where the magic happens and the surface starts to feel silky smooth under your fingertips. If you skip this part, your final finish might feel a bit rough or uneven, and we definitely want that professional, polished look.
- 4. Now, this is the part where I get a little obsessive: cleaning off the dust. Take a vacuum with a brush attachment or a tack cloth to lift every single microscopic particle from the wood’s pores. If you leave even a tiny bit of dust behind, your finish will end up looking cloudy and textured instead of clean and clear.
- 5. Next up is the fun part—applying the finish! I’m a huge advocate for using natural oils like linseed or tung oil because they soak into the wood and highlight its character without the harsh chemical smell of heavy polyurethanes. Apply a small amount with a lint-free rag, working it in deeply, and let it sit for a bit to really penetrate the fibers.
- 6. Wipe away any excess oil that hasn’t been absorbed so you don’t end up with a sticky mess. If the wood looks a little thirsty, feel free to apply a second thin coat after a few hours. This builds up a beautiful, protective layer that will stand up to daily life while still letting the wood breathe.
- 7. Finally, let the table cure in a well-ventilated area, away from direct sunlight. It might look ready to use in an hour, but patience is key if you want a finish that lasts for years. While you wait, I usually find myself reorganizing my collection of old glass jars, just waiting for the perfect moment to bring a little more life into my living space!
Mastering Sanding Techniques for Furniture and Removing Scratches
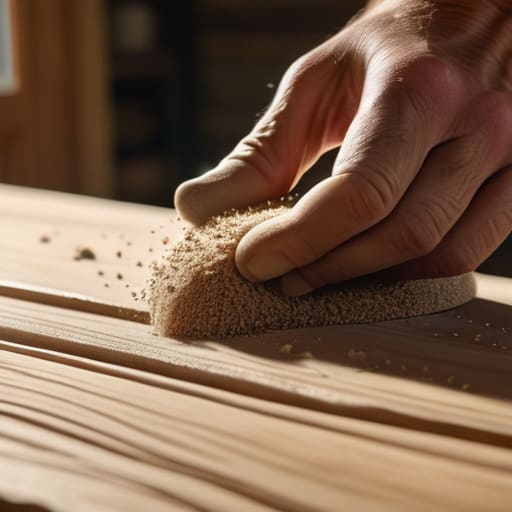
When you finally dive into the actual work, the secret to success lies in your patience with the grain. I remember my first real project—a heavy oak dining table from my parents’ house—where I tried to rush the process. Big mistake. To truly master sanding techniques for furniture, you have to respect the direction of the wood fibers. Always sand with the grain, never across it, or you’ll end up with swirl marks that no amount of polish can hide. If you’re dealing with deeper gouges, you might need to start with a coarser grit to begin fixing wood surface imperfections before gradually moving to the finer grits for that silky-smooth feel.
It’s also worth noting that your choice of wood refinishing tools and supplies can make or break your afternoon. While electric sanders are great for large flat areas, I always keep a few sanding blocks on hand for the edges and legs. There’s something incredibly meditative about the rhythm of hand-sanding; it forces you to slow down and really connect with the material you’re working to preserve.
Selecting Wood Refinishing Tools and Supplies for Lasting Beauty
Before you dive in, let’s talk gear. I’ve learned the hard way that grabbing the cheapest kit at the big-box store can sometimes do more harm than good. When you’re looking for the right wood refinishing tools and supplies, think quality over quantity. You don’t need a professional workshop, but having a decent set of multi-grit sandpaper and a high-quality tack cloth makes a world of difference. I actually keep a small stash of old glass jars in my utility closet to organize my various grits and sanding sponges—it keeps the workspace tidy and prevents that fine dust from migrating into my kitchen!
The real magic, though, happens when you choose the right way of applying wood stain and finish. If you’re aiming for a natural look, I always recommend organic-based oils or waxes rather than heavy, chemical-laden polyurethanes. They’re much kinder to your lungs and the planet. Also, don’t forget a good microfiber cloth; it’s essential for buffing out wood scuffs and ensuring that your final coat looks smooth and professional rather than streaky. Getting the supplies right is half the battle in making that piece look like it was born to be an heirloom.
Pro-Tips from My Workshop to Yours: Small Tweaks for Big Results
- Always test your finish on a hidden spot first—like the underside of the table leg—to make sure the color doesn’t turn out way darker or weirder than you expected.
- Don’t rush the drying process; I know it’s tempting to use the table for dinner right away, but giving the oil or wax plenty of time to cure is what prevents those annoying sticky spots later.
- Keep your workspace clean and dust-free, maybe even by wiping down your tools with a bit of vinegar, because even a tiny speck of grit can ruin a smooth finish once you start buffing.
- Work with the grain, always. If you sand or apply your stain against the natural flow of the wood, you’ll end up with tiny scratches that are a total headache to hide.
- Embrace the imperfections. Sometimes a little character in the wood tells a better story than a factory-perfect finish, so don’t feel like you have to sand away every single tiny mark to make it “perfect.”
Bringing the Beauty Back Home
Taking the time to sand down those deep scratches and carefully selecting the right natural oils might feel like a lot of work in the middle of a busy week, but the results speak for themselves. By mastering those specific sanding techniques and investing in quality, eco-friendly supplies, you haven’t just fixed a piece of furniture; you’ve practiced the art of intentional maintenance. Instead of letting a damaged surface dictate that the piece is “trash,” you’ve used your hands to preserve the integrity of the wood and prevent another item from heading straight to the landfill. It’s all about that connection between the tools we use and the longevity of our belongings.
At the end of the day, restoring a scuffed table is about much more than just aesthetics; it’s a small, beautiful rebellion against our modern “throwaway” culture. Every time we choose to repair rather than replace, we are making a conscious decision to honor the resources that went into creating that object. Whether it’s a family heirloom or a thrifted find that’s seen better days, let this project be a reminder that sustainable living isn’t about being perfect—it’s about being mindful. So, go ahead, grab your sandpaper, and let’s keep our urban homes filled with character and stories worth telling.
