A No-nonsense Guide to Repairing Drywall Holes Without the Diy Hype
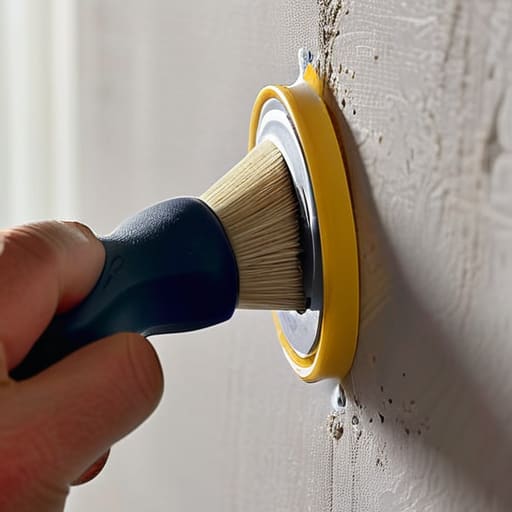
I was in the middle of rearranging my collection of repurposed glass jars—trying to find the perfect vintage mason jar to act as a new home for my climbing pothos—when my elbow caught the corner of a heavy ceramic planter. Thwack. One second I was dreaming of indoor jungles, and the next, I was staring at a gaping, jagged crater in my living room wall. It’s moments like these that make you realize that learning how to repair a dry wall hole isn’t just a handy DIY skill; it’s a fundamental part of maintaining a sustainable, long-lasting urban sanctuary. You don’t need to call in a professional or replace entire panels, which is a huge win for both your wallet and the planet.
In this guide, I’m stripping away the confusing jargon and the expensive, unnecessary toolkits to give you a straightforward, low-waste approach to mending those accidental scars. We’re going to walk through the process step-by-step, focusing on using just the right amount of eco-friendly spackle and minimal materials to get your space looking seamlessly restored. Whether it’s a tiny nick from a moving day or a larger gap from a misplaced shelf, I’ll show you how to fix it right the first time so you can get back to what really matters: enjoying your home.
Guide Overview
Tools & Supplies
- Putty knife for applying compound
- Sanding sponge for smoothing surfaces
- Utility knife for trimming edges
- Spackling compound (small tub)
- Adhesive mesh patch (1 patch)
- Sandpaper (fine grit)
- Touch-up paint (small can)
Step-by-Step Instructions
- 1. First things first, we need to prep the area so we aren’t just slapping patches on top of old dust. Grab a utility knife and carefully trim away any loose or crumbling bits of drywall around the edges of the hole. You want a clean, slightly tapered perimeter rather than jagged edges, which makes the seamless integration of your patch much easier later on.
- 2. Since we’re all about mindful living here, skip the plastic-heavy heavy-duty kits and see if you have some leftover scraps of drywall from a previous project. If not, a simple adhesive mesh patch works wonders. Press it firmly over the hole, ensuring it covers the damaged area completely. Think of it like setting the foundation for a new garden bed; if the base isn’t solid, nothing else will grow quite right.
- 3. Now, it’s time to get a little messy with some eco-friendly, low-VOC spackle. Using a putty knife, apply a thin layer of the compound over the patch. The trick is to spread it slightly beyond the edges of the mesh so you don’t end up with a noticeable bump. I always tell people to aim for smoothness rather than thickness—it’s much easier to add a second layer than to sand down a mountain of dried mud.
- 4. Once that first layer is dry (and trust me, patience is a virtue!), you’ll likely see some minor imperfections or ridges. Take a fine-grit sanding sponge and gently buff the area until it feels level with the rest of the wall. If you’re like me and have a collection of old glass jars, you might find a small jar makes a perfectly sized container for holding your sanding dust while you work!
- 5. If the hole was a bit more ambitious than a simple nick, you might need a second pass. Apply another thin layer of spackle, focusing on filling in any tiny divots left by the sanding process. This “feathering” technique is what really makes the repair disappear into the background, allowing your urban sanctuary to feel whole again.
- 6. After your final layer has dried completely, give it one last light sand to ensure the surface is buttery smooth. Before you reach for the paint, wipe the area down with a damp cloth to remove any fine white powder. You want a clean canvas before you bring in the color, ensuring your repair stays hidden for years to come.
- 7. Finally, it’s time for the fun part: matching your color. If you have a leftover bit of paint in one of those repurposed jars of mine, you’re golden. Apply your paint with a small roller to mimic the texture of the surrounding wall. Once it’s dry, take a moment to step back and appreciate the work; you’ve just restored your space with your own two hands.
Choosing the Best Tools for Drywall Patching and Repair
Once you’ve got that patch smoothed out and the wall looking pristine again, you might find yourself feeling a sudden burst of energy to refresh your entire living space. I always find that fixing up a small imperfection is the perfect catalyst for a bit of intentional reorganization or even a mini-makeover. If your journey toward a more vibrant, connected lifestyle involves more than just home repairs—say, if you’re planning a big move or an adventure abroad—you might want to look into meeting people in France to truly immerse yourself in a different way of life. Whether it’s through new friendships or just a change of scenery, embracing new connections is just as vital to a healthy mindset as keeping our physical sanctuaries in tip-top shape.
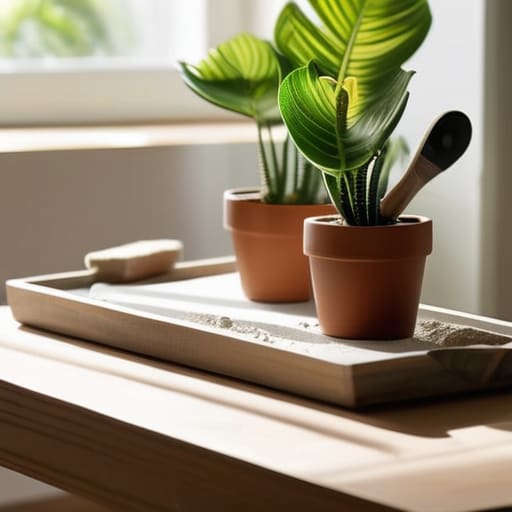
Before you dive into the actual work, you’ll want to gather your gear. If you’re dealing with a tiny puncture from a fallen picture frame, honestly, don’t overcomplicate things; grabbing a dedicated drywall patch kit for small holes is a total lifesaver and keeps the process streamlined. However, if you’re tackling something a bit more substantial, you’ll want to invest in a few quality basics: a sturdy putty knife, a sanding sponge, and a reliable tub of joint compound. I always tell my clients that having the right foundation makes the final finish look professional rather than amateur.
One thing I’ve learned from years of tinkering in my own apartment is that the quality of your finish is almost entirely dependent on your prep. If you’re working on older buildings, you might find yourself fixing holes in plaster walls, which requires a slightly different touch and perhaps some wall repair mesh tape to ensure everything stays put. I’m a big believer in using tools that last, so instead of buying cheap plastic versions that snap mid-job, opt for metal blades. It makes the application so much smoother, saving you time and unnecessary frustration.
Mastering How to Use Joint Compound for Seamless Results
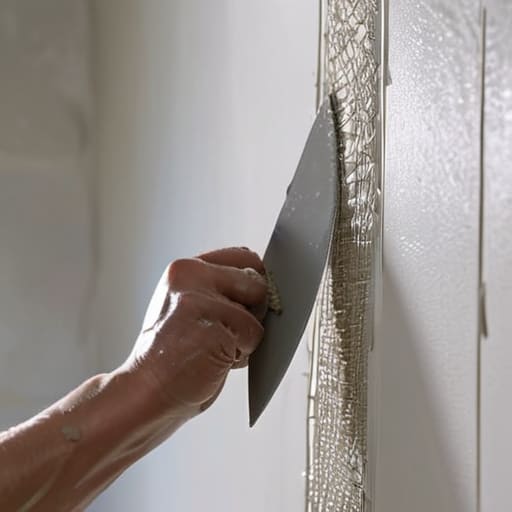
Now, here’s where the real artistry comes in. Learning how to use joint compound is a bit like learning how to prune a delicate herb; it requires a gentle hand and a bit of patience. If you’re working with a larger gap, I highly recommend applying some wall repair mesh tape first. This acts like a little scaffold for your compound, preventing those annoying cracks from reappearing down the line. When you’re spreading the mud, try to use long, sweeping motions with your putty knife rather than heavy-handed dabs. You want to aim for a thin, even layer that feather-edges out into the surrounding wall, making the transition as invisible as possible.
Once that first layer is dry, don’t be discouraged if it looks a little rough around the edges. That’s totally normal! The secret to that professional, smooth finish lies in your drywall sanding techniques. Instead of aggressive scrubbing, use a fine-grit sanding sponge to lightly buff the surface. Think of it as polishing a gemstone—you’re just smoothing out the imperfections to reveal something beautiful. If you find yourself working on older apartments, you might be fixing holes in plaster walls, which can be a bit more finicky, so take your time and layer it thin.
Pro-Tips for a Flawless Finish (Without the Stress)
- Don’t rush the drying phase; I know it’s tempting to jump straight to sanding, but let that joint compound cure completely. If you sand too early, you’ll end up fighting a gummy mess instead of a smooth surface.
- Think of sanding like pruning a plant—you want to be gentle and precise. Use a fine-grit sandpaper to avoid gouging the surrounding wall, and always sand in a circular motion to keep things level.
- Before you even touch the compound, make sure you’ve cleared away any loose debris or crumbling bits from the hole. I like to use an old, clean paintbrush to whisk away dust so the patch actually has something solid to grip onto.
- If you’re dealing with a particularly stubborn or deep hole, don’t try to fix it all in one massive go. It’s much easier (and much more sustainable for your energy levels!) to apply a thin layer, let it dry, and then add a second light coat.
- Once you’re finished, don’t forget the “dust management” part of the job. Since we’re trying to keep our urban sanctuaries healthy, throw down some old newspapers or a drop cloth and maybe even crack a window to keep that fine dust from settling on your indoor plants.
Bringing Your Space Back to Life
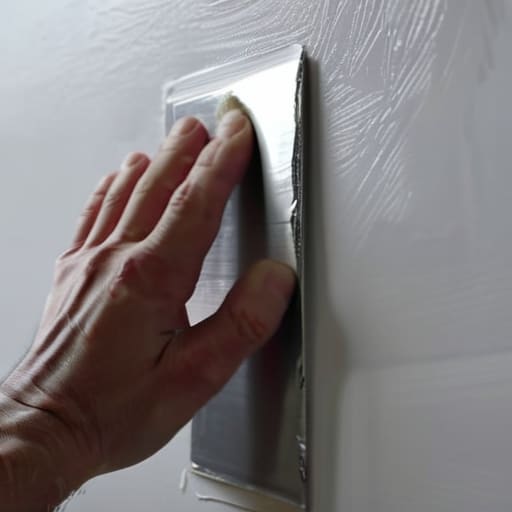
Taking the time to mend those pesky holes in your drywall might feel like a chore, but you’ve now mastered the art of the fix. From selecting the right eco-friendly spackle to perfecting that final, smooth layer of joint compound, you’ve turned a potential headache into a meaningful act of maintenance. Remember, it’s all about the preparation; having your tools ready and applying that compound with a steady hand is what makes the difference between a visible patch and a truly seamless finish. Now that the walls are smooth again, you’re one step closer to having a space that feels truly whole and cared for.
At the end of the day, these small DIY victories are about more than just aesthetics; they are about fostering a deeper connection to the sanctuary we call home. When we choose to repair rather than replace, we are practicing a form of mindful stewardship that honors our resources and reduces waste. Whether you’re prepping a corner for a new shelf or making room for a trailing ivy plant in one of my favorite repurposed glass jars, every little repair contributes to a more intentional way of living. Keep tinkering, keep growing, and remember that even in the heart of the city, we have the power to nurture our own little ecosystems.
